Supplies
- Tissue Paper-select colors for body and mane
- White School Glue
- Paint Brush
- Paint- select color for horn
- Drawing Tools (markers, colored pencils,…)
- Optional-Glitter, Rose Petals
Color Coat
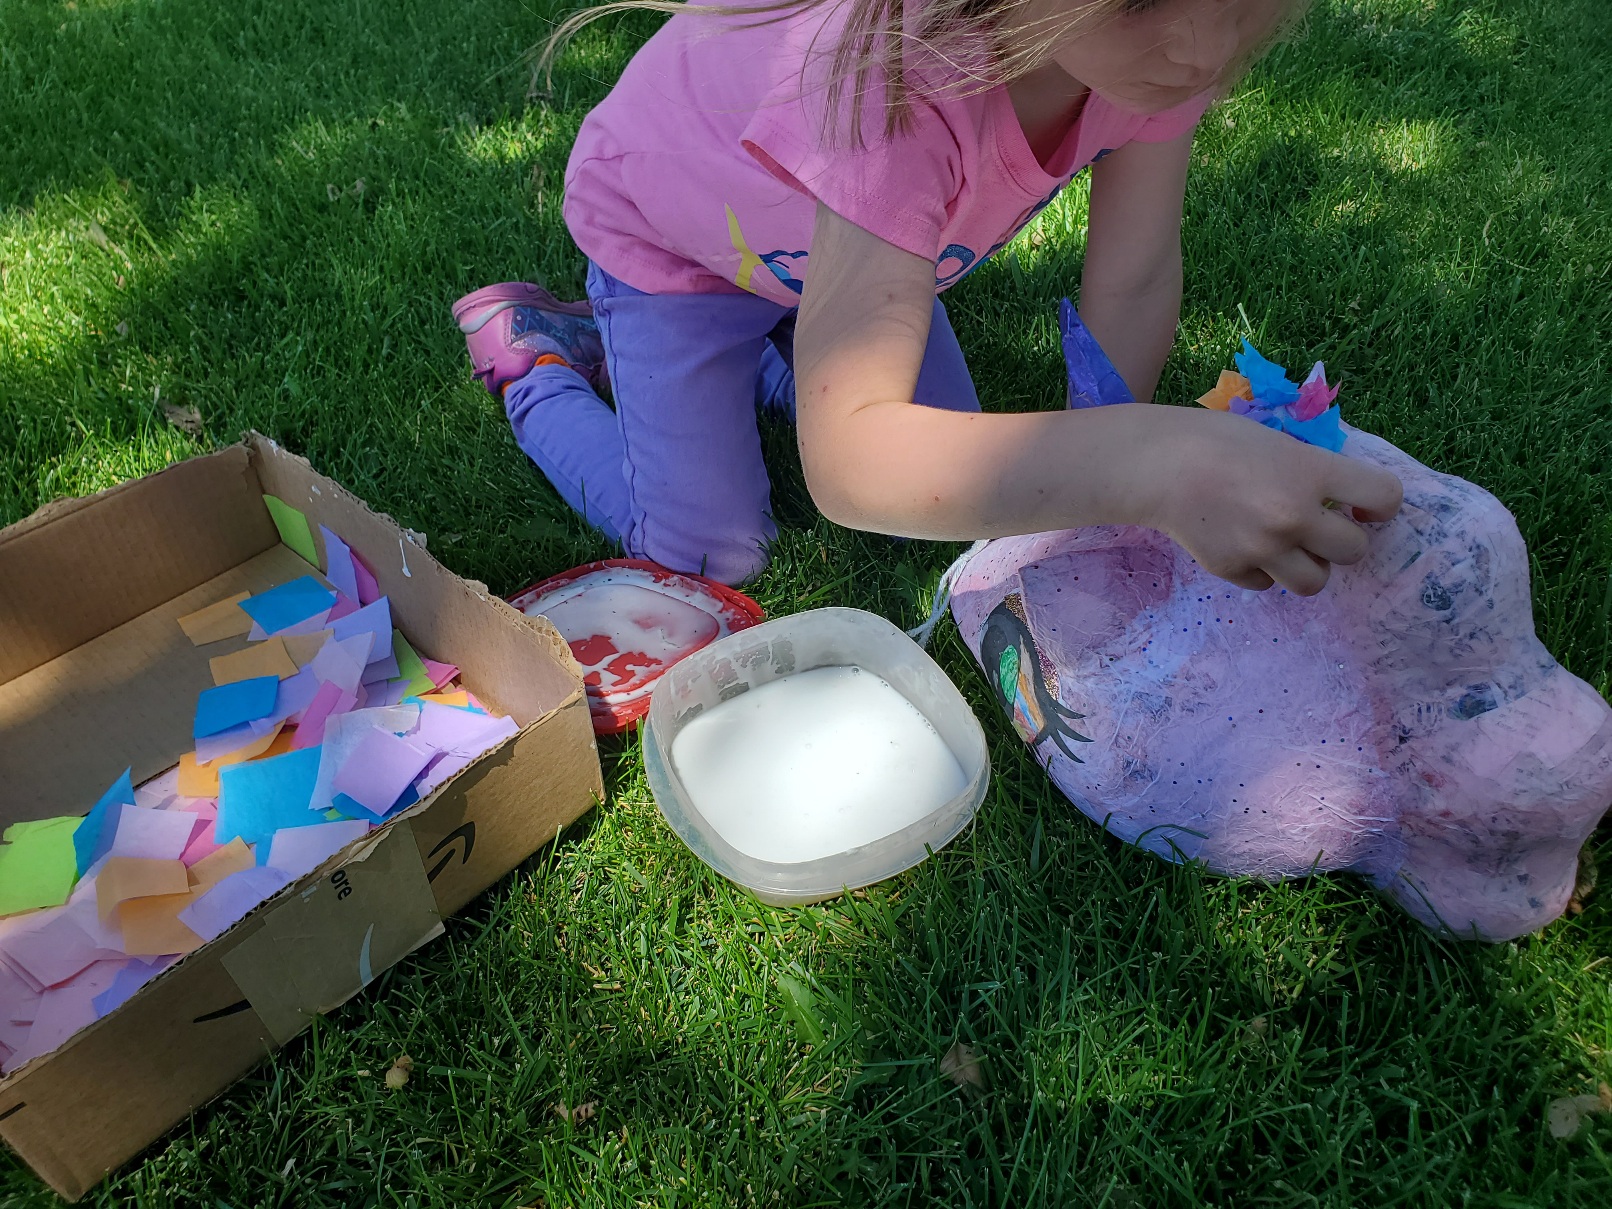
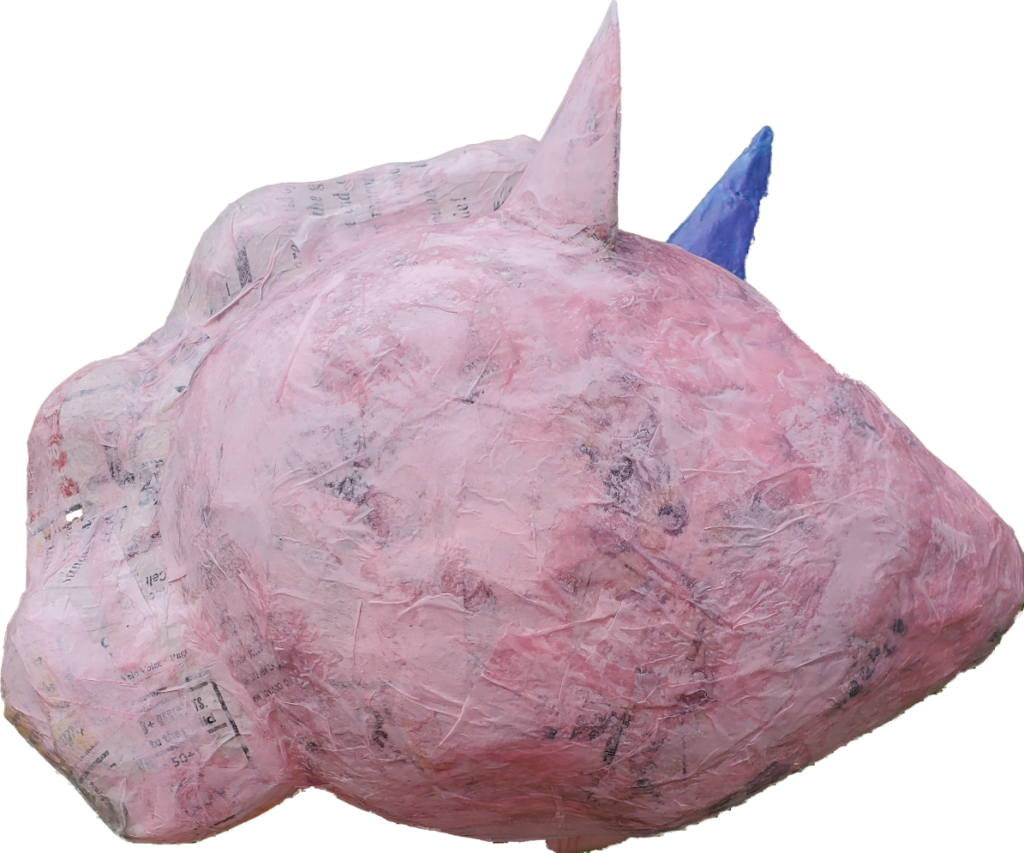
Paint the horn with your choice of paint. We used a metallic purple nailpolish to achieve our desired apperance. Pick a color of tissue paper for the skin of your unicorn, we chose light pink, and cut into approximately 1 inches squares. Pour some glue into a bowl or similar shallow container and add enough water to get a paintable consistency. My daughter was really excited about this new process that allowed her to “paint glue.” Using a paint brush spread the glue across small areas of the Piñata’s body, lay some tissue paper squares onto the glue, then paint over the square with more glue. Continue this process until the Piñata appears the color you desire. Using light pink required 4-5 layers to achieve a nice color. We only completed one layer in the mane area since it would be further decorated.
Details
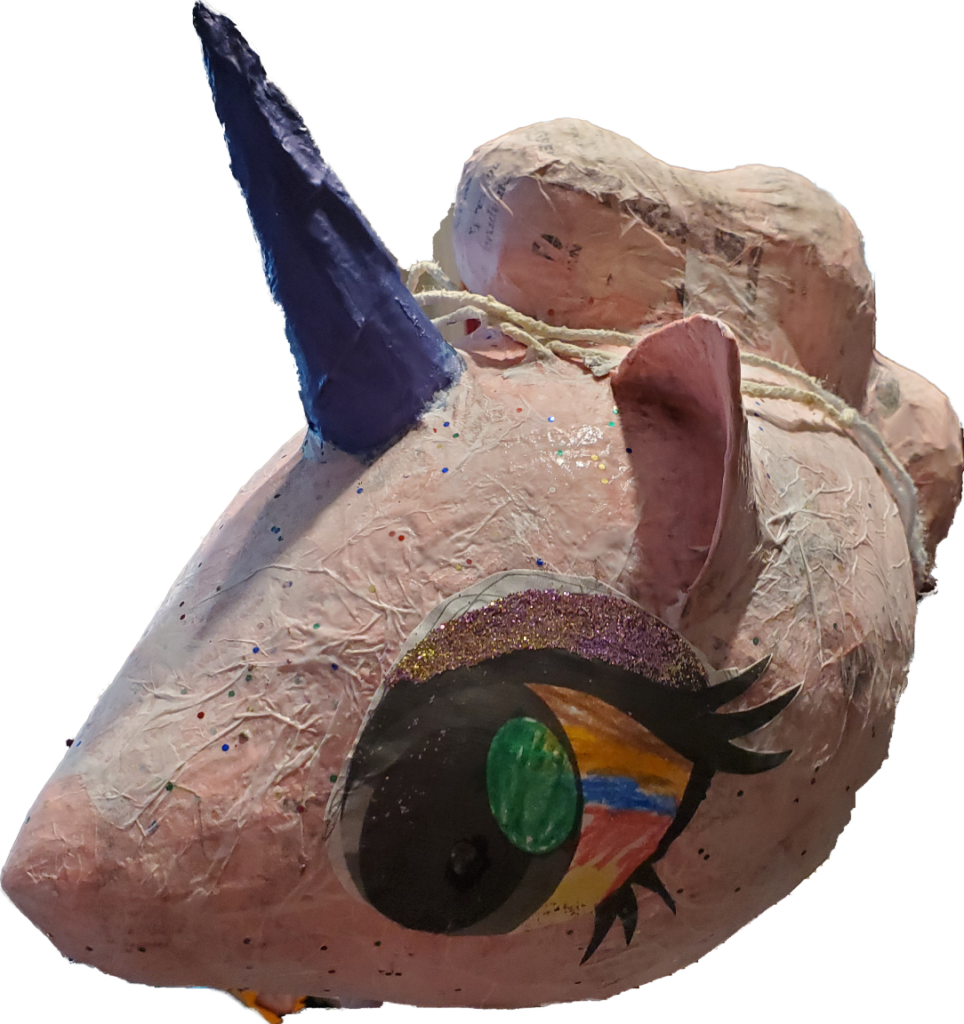
For an extra magical unicorn look, we added one more tissue paper layer using a white tissue paper that contained multicolored confetti. Next, my daughter colored some large unicorn eyes and added some glitter makeup. Once the eyes were glued on our unicorn looked alive.
Mane
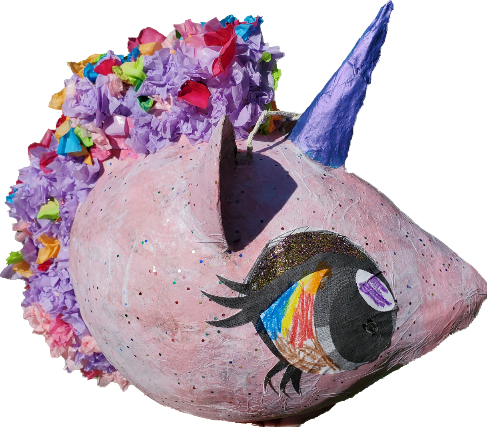
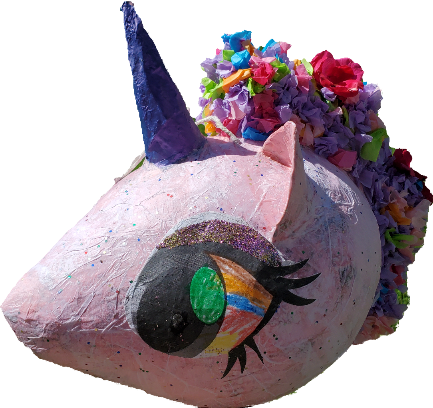
The last step was adding the mane. You could do this with smooth tissue paper the same way the body was covered, or go for one type of familiar Piñata look using thin strips of tissue paper. I chose to try out a different type of look by gluing small bunches made out if approximately 1 inch squares of tissue paper. This created a fun,spiky hairstyle we matched by including bright colors: pink, purple, green, orange, and blue. Lilly played hair stylist, talking to the unicorn, while we decorated her mane. To finalize her look, we used rose petals to create two flowers stuck into her hair.
Party Day
