Unicorn Piñata
Part 1: Creation
The Idea
My oldest daughter just turned 5. To celebrate this milestone, she requested a Piñata. We looked at a few Piñatas at the store and I reflected on my own experiences with Piñatas. The only store bought Piñata I remember from my childhood was at my cousin’s birthday party. I have more vivid memories of building snow forts and having a snow battle during this birthday party than actually breaking the Piñata, I’m fairly certain the only reason I remember the Piñata is because this was the part of the party photographed and I have seen these pictures occasionally over the years. The snow play I remember because it was fun. I wanted to fulfill my daughters reasonable request for her party, but didn’t want to buy a Piñata just to have a Piñata. I have some experience making Piñatas, in fact I have many memories of a few Piñata projects involving Papier-mâché, cardboard, or both. These projects were lots of fun, enough fun that I chose to continue making them trying to improve my designs. Problem solved! We would embark on a sensory exploration and use our art skills to create our own Piñata. A plain balloon shaped Piñata would not do for this special occasion, so we undertook to design our own unicorn Piñata.
Supplies
- News paper- cut into strips
- Papier-mâché mix (flour and water stirred into a paste)
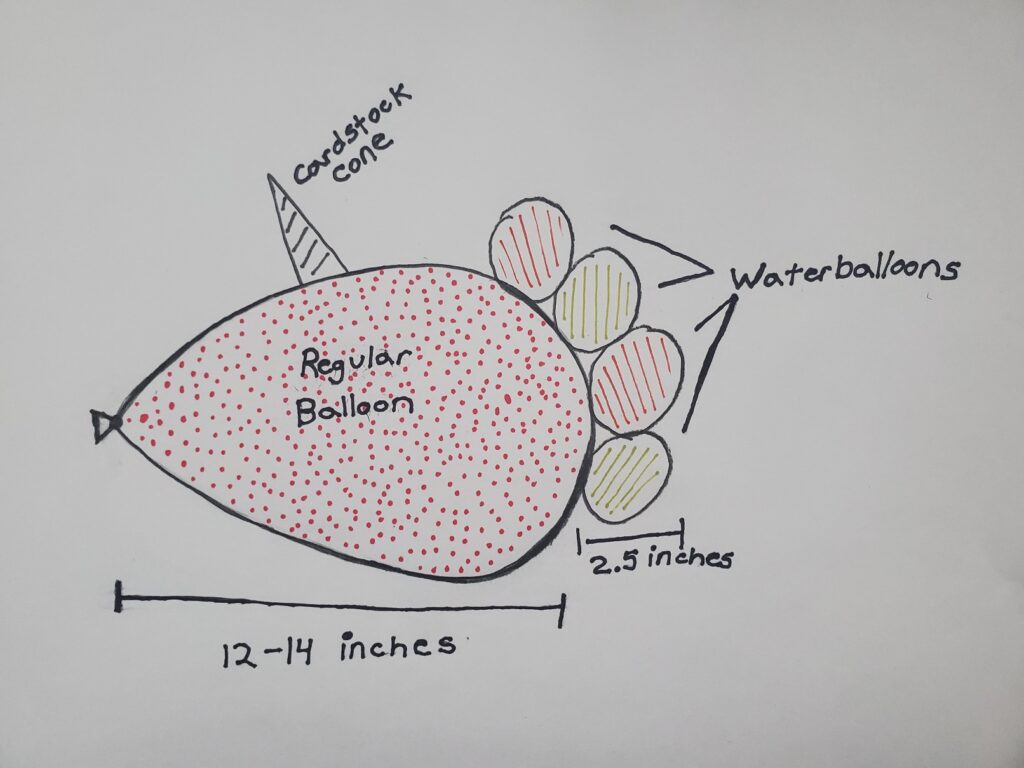
- Regular balloon
- 4 water balloons
- Cardstock
- Masking tape
- Small paper cups
- Yarn
Assembly
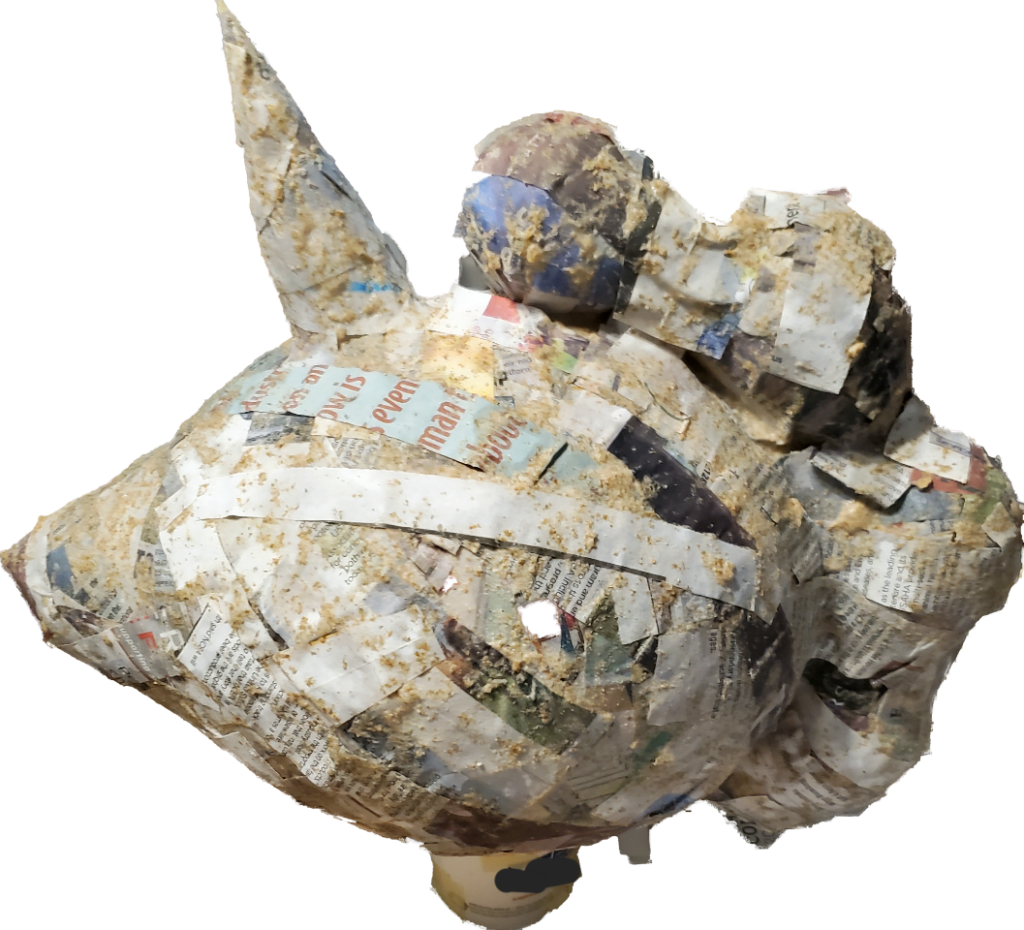
The shape was easier than I first imagined. Using a regular balloon for the head, the nozzle end became a natural nose. By taping four blown up water balloons along the back I created the appearance of a fancy mane. Twisting a cone out of cardstock we had our horn. I put masking tape along the bottom edge of the cardstock to ensure no damage would happen to the balloon before taping it on as well. At the time I completely forgot about ears, but that was ok, it turns out they were best added at a later step anyways.

First Coat
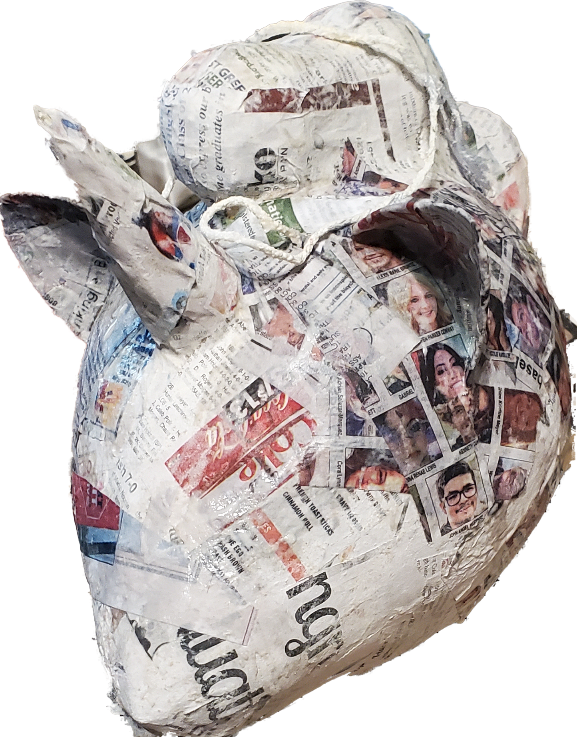
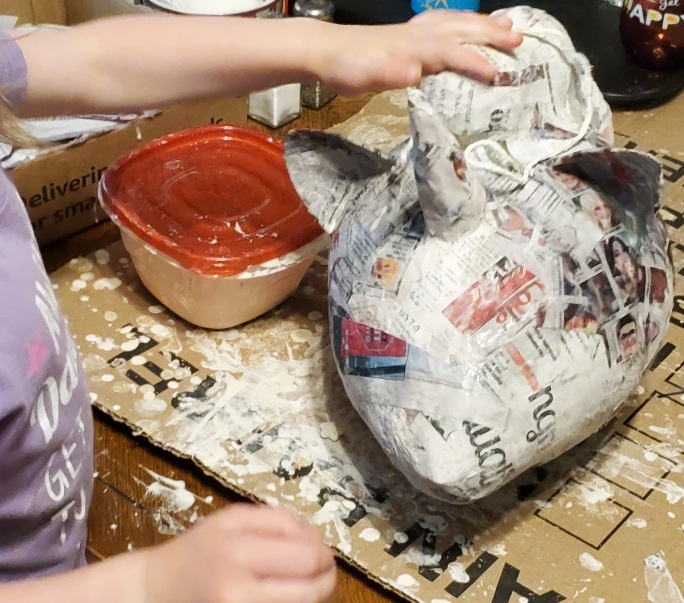
I taped a cup to the bottom, then taped the cup to an extra large cardboard that served as our work area and prepared for a mess. For our first coat, we used whole wheat flour left over from making waffles. Working with this mix felt gritty and my daughter quickly tired of having her hands in the goo. After getting this coat as think as we could, the Piñata got a few days to dry. Then I popped the balloons, poked holes near the mane, ran a piece of yarn through the holes for hanging the Piñata, filled it with surprises, and used the last of the whole wheat Papier-mâché to cover up the hole where the cup had been attached.

Second Coat
The second coat was made with the more traditional all purpose flour Papier-mâché. This time it felt smooth and gloomy, a much more present sensory feeling to my daughter who responded “this fits me better. ” Along with this coat I also attached ears cut out of paper cups. After a day of drying the result was a nice smooth looking and feeling Piñata.


